HOW DO I SETUP MY SITE TO LOOK LIKE YOUR DEMO SITE?
You can use a free plugin called “Widget Importer & Exporter” to import all of our Demo site Widget Settings into your site.
Please ensure you’ve followed the Theme Setup and Documentation Instructions before importing the Demo site widget settings — there are plugins on our Demo sites you will need to install for the Importer files to work properly.
Instructions
- Download and activate the “Widget Importer & Exporter” plugin
- Download the “WIE Setup File” for your brandiD theme below
- Go to Tools > Widget Importer & Exporter
- Choose the WIE file you downloaded in Step 2
- Click Import Widgets
- WordPress will import all the Demo site widgets and their settings into your site
All widgets and their settings will automatically be populated on your site. Feel free to change the widget settings from here.
Hello! Pro 2 Theme
HELLO! PRO 2 THEME SETUP AND DOCUMENTATION
HELLO! PRO 2 DEMO WIE SETUP FILE
HOW TO REDUCE THE VERTICAL SPACING IN HOME TESTIMONIAL SECTION
Add the following in Hello! Pro’s (v 1.5.1 at the time of writing this) style.css to get rid of excess spacing above and below in the Social Proof Slider widget in Home – Testimonial widget area.
.widget__socialproofslider .social-proof-slider-wrap {
	padding-top: 0;
	padding-bottom: 0;
}
HOW TO SET UP HOME CTA OPT-IN FORM ON THE HOMEPAGE
To set up the horizontal opt-in form below Welcome section on Hello! Pro’s front page, follow the steps below. Note that you will need to use a third-party service like MailChimp to create and manage your mailing lists.
- Install and activate Genesis eNews Extended plugin.
- At Appearance > Widgets drag a Genesis – eNews Extended widget into “Home – Call To Action” widget area and configure it. Configuration steps for the plugin can be found here. Below is the screenshot from our demo site: Note that you’ll need to replace the placeholders (#) in “Form Action”, “E-Mail Field” and “First Name Field” fields with relevant values for the list service you are using.
HOW TO ADD AFTER ENTRY WIDGET AREA
To add After Entry widget area below the content on single Posts, just add the following in Hello! Pro’s functions.php:
//* Add support for after entry widget
add_theme_support( 'genesis-after-entry-widget-area' );
This makes available an additional widget area called “After Entry” at Appearance > Widgets or inside the Customizer ready to be populated with your desired widget(s).
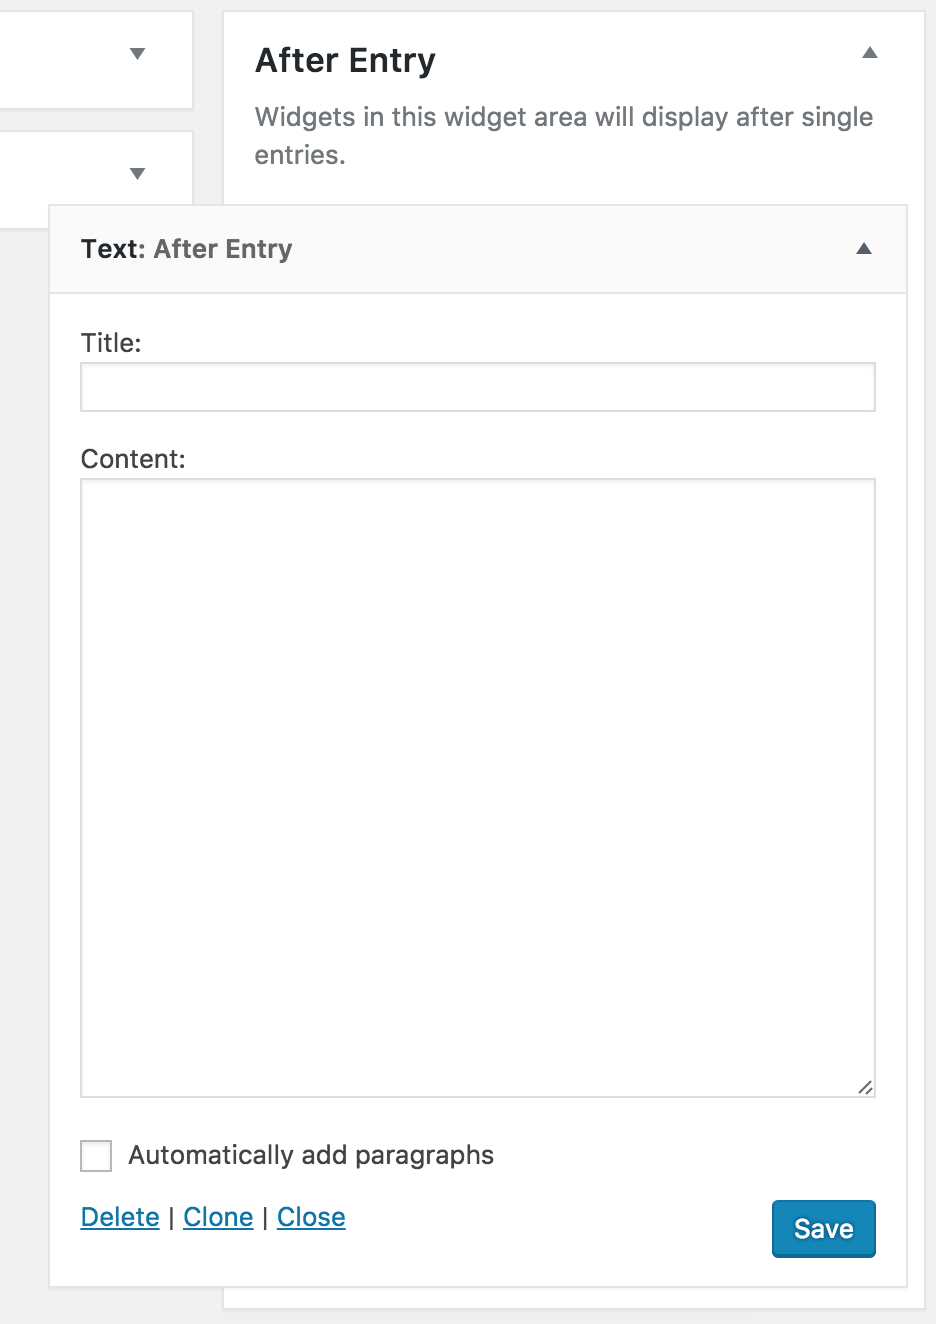
The widget(s) placed in this widget area will automatically appear below the content on single Post pages.